The flowers are often what bring an orchid home. The roots, light and watering are what keep it there. Once the first display fades, a healthy plant can continue growing and bloom again, but not every orchid follows the same routine.
This guide focuses on commonly cultivated Phalaenopsis, Cattleya, Oncidium-type orchids and Dendrobium. It takes you from identifying the plant to choosing its position, caring for the roots and responding to problems. Use it as a starting point, then check the needs of the species or hybrid on your label.
1. Identify the orchid before choosing its care
An orchid is not a single kind of houseplant. Even within one genus, plants can come from different environments. Keep the nursery label and ask about the hybrid or species instead of relying only on flower colour. A plant that needs a seasonal rest should not automatically receive the same treatment as one growing continuously.
Phalaenopsis: moth orchids
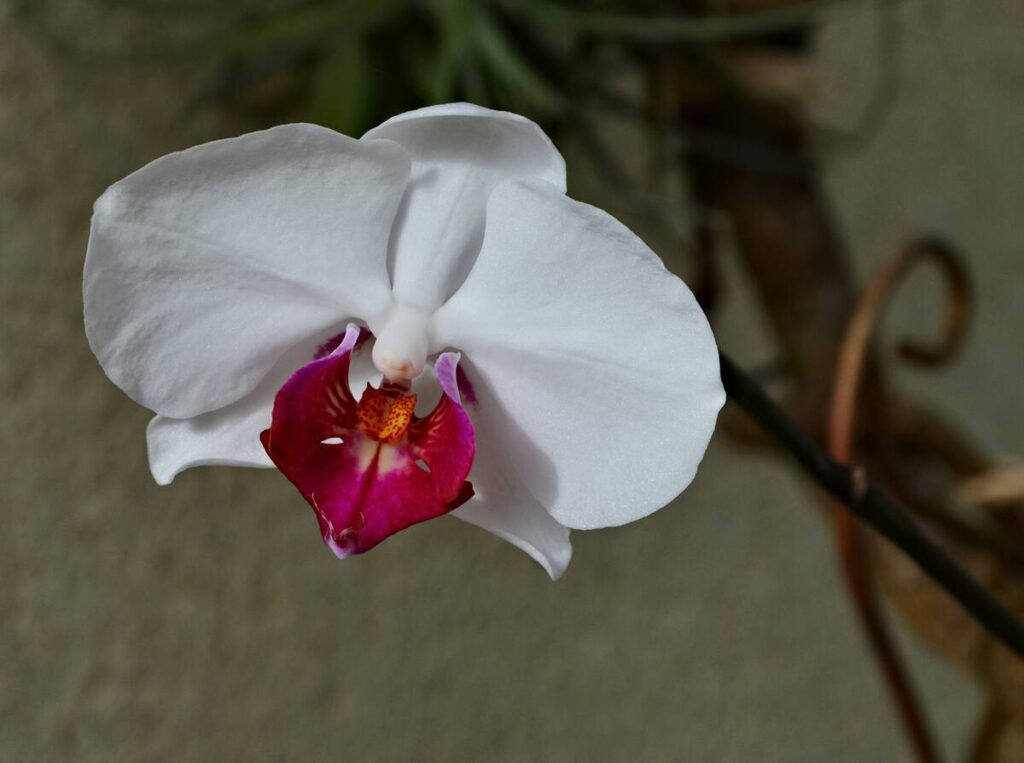
These familiar orchids have broad leaves and flower spikes that can carry a long display. A bright position without harsh exposure is a useful starting point. Their roots should approach dryness between thorough waterings, rather than remain wet or suffer prolonged drought. Avoid water collecting in the central crown. The AOS Phalaenopsis care sheet explains these requirements; our Phalaenopsis guide looks at this group in more detail.
Cattleya: pseudobulbs and brighter conditions
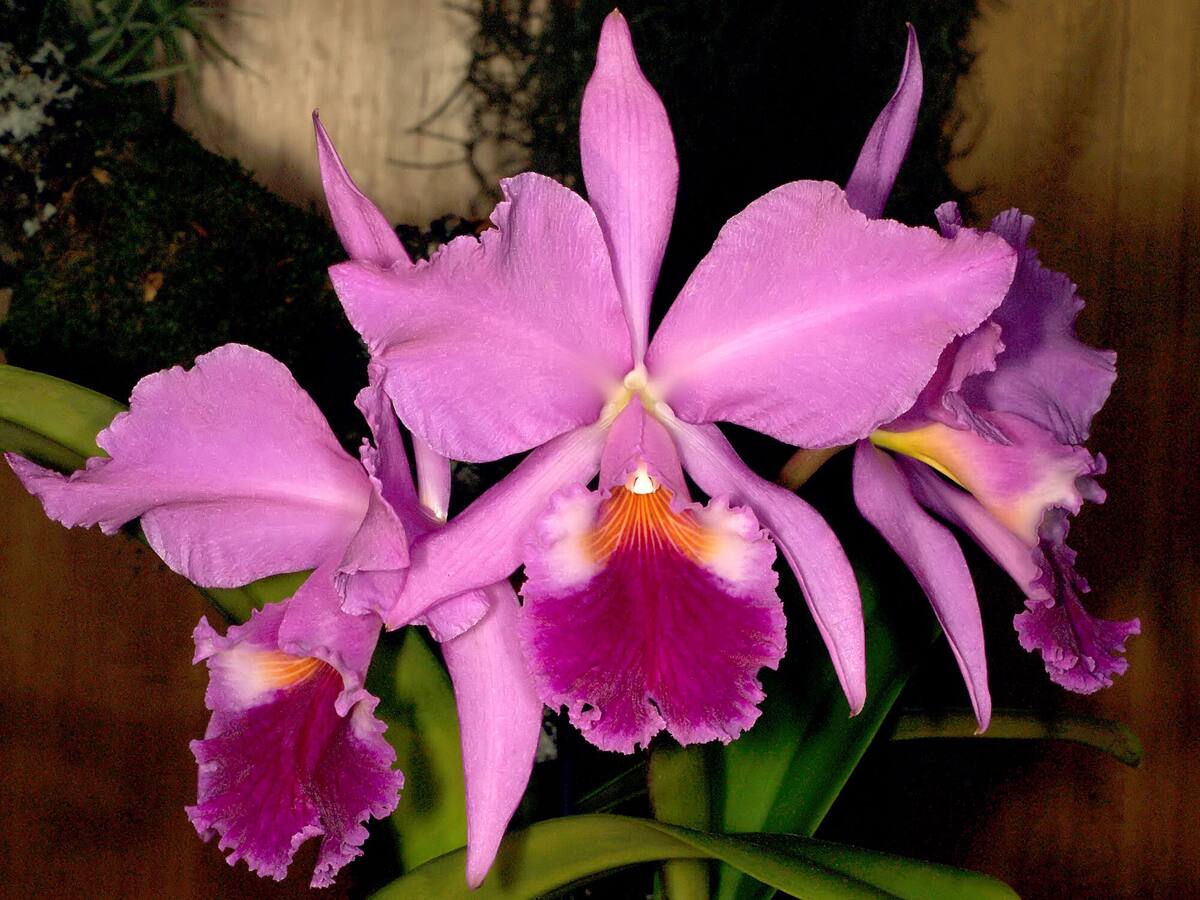
Cattleyas produce new growths along a rhizome, with thickened stems called pseudobulbs. Many need more light than typical moth orchids to flower well. The AOS Cattleya sheet describes a wet–dry rhythm: water thoroughly, let the medium dry, then water again. Do not turn that into a fixed number of days. The plant’s environment and container determine how quickly the mix dries.
Cattleya labiata, one example within a diverse group. Orchi, CC BY-SA 3.0. Resized and compressed.
Oncidium and related hybrids
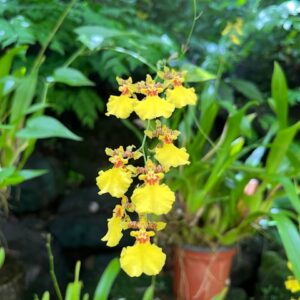
The dancing-lady orchids include plants with different leaves, roots and moisture requirements. Some carry branched sprays of small flowers, including the yellow forms familiar in Brazilian collections. Thin-rooted types can suffer if they remain dry too long. The AOS Oncidium sheet stresses that watering varies with the plant and growing conditions. A pseudobulb is a reserve organ, not permission to neglect watering.
Dendrobium: learn which group you have
Dendrobiums often have cane-like stems, but their care is far from uniform. Nobile-type plants may need a seasonal reduction in watering after canes mature, while warm-growing groups should not be subjected to the same dry rest. The AOS Dendrobium guide separates these groups. Identifying the plant prevents well-meant advice for one type from becoming a problem for another.
2. Understand what the roots are doing
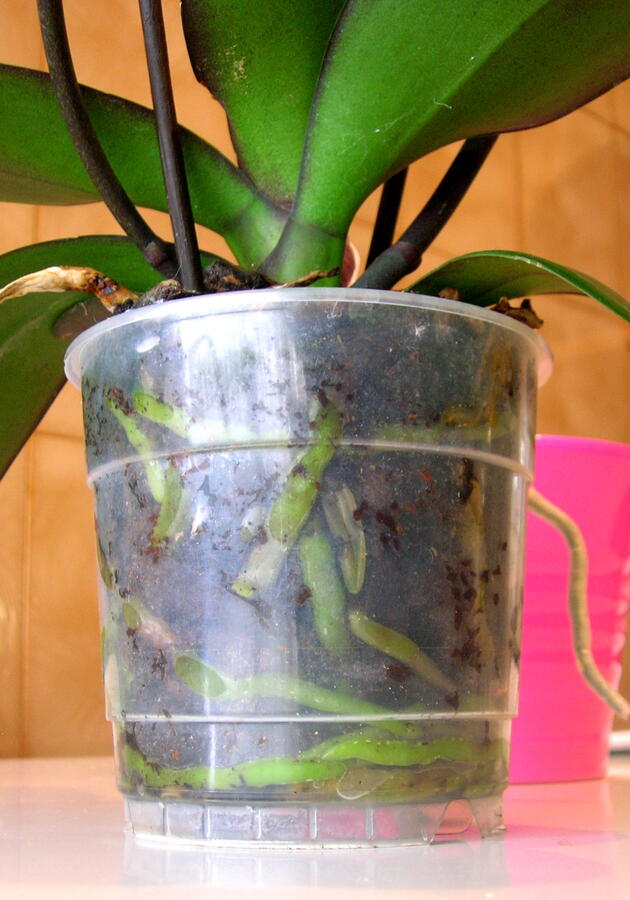
Many cultivated orchids are epiphytes: in nature they use other plants as support rather than rooting in ordinary garden soil. Their aerial roots help anchor them. A spongy outer covering, the velamen, can look pale when dry and change appearance when wet. Roots growing outside a pot are not automatically diseased or in need of cutting. The SENAR-PR orchid manual illustrates these structures.
A transparent pot helps you observe roots and moisture; it is not mandatory for every orchid. Javier Mediavilla Ezquibela, CC BY 2.5. Resized and compressed.
3. Choose a position for growth, not just display
A flowering orchid can brighten a table, but the attractive spot may not provide enough light for its next growth cycle. Observe the light that actually reaches the leaves. Do not assume all orchids belong in deep shade, or move a plant straight from shade into intense sun. The AOS general care guide treats light, water and growing medium as connected choices, not separate tricks.
Temperature and humidity also need context. There is no single ideal temperature for every orchid. A thermometer and humidity gauge can help you compare the chosen position with the plant’s requirements. Allow gentle air circulation without exposing fragile spikes to strong gusts. High humidity and permanently wet foliage are not the same thing. Iowa State Extension discusses this balance for indoor growers.
In Brazil, avoid creating mosquito breeding sites while trying to raise humidity. Do not leave standing water in saucers or decorative containers; clean them regularly. The Ministry of Health identifies these containers as places that require attention. A tray is not a substitute for checking the actual conditions around the plant.
4. Match the pot and growing medium
Start with drainage. Plastic, clay and other containers can work, but they lose moisture at different rates. An outer decorative pot is useful only if excess water does not remain trapped inside. Choose a container that accommodates the roots without a large volume of unused, persistently damp mix.
Commercial orchid mixes may contain bark, sphagnum or other components. Coarser material generally drains and dries differently from moisture-retentive moss. For a beginner, a suitable ready-made mix is easier to evaluate than an improvised combination of unknown materials. The New York Botanical Garden’s orchid FAQs explain why the mix should reflect the plant’s natural moisture needs. Ordinary garden soil is not a default substitute for an epiphytic orchid mix.
5. Water by observation
Check the medium, the pot’s weight and the roots rather than watering simply because it is Saturday. When watering is needed, wet the medium thoroughly and let the excess drain. Remove the inner pot from a watertight decorative container if necessary. A small splash on the surface may leave deeper material dry.
The interval changes with the species, season, mix and growing place. A bark-filled pot in a breezy veranda may dry faster than moss in a cool room. EPAMIG researchers warn that excessive moisture can encourage problems and rot roots. Persistent wilting is a reason to inspect the roots and conditions, not automatically add more water.
6. Feed without treating fertilizer as medicine
Fertilizer supplies nutrients; it does not replace light, healthy roots or the appropriate growing cycle. Choose a product intended for orchids and follow its label for dilution, application and frequency. “Organic” does not mean an unlimited dose, and combining several products can make it difficult to know what you have applied.
Overfeeding can injure roots through salt accumulation. The AOS explanation of fertilizer burn links feeding to the plant’s ability to use nutrients. If a plant is declining, investigate the cause before trying to force growth with a stronger solution.
7. Repot when there is a reason
Consider repotting when the mix breaks down, drainage deteriorates or growth genuinely outgrows the container. Where possible, choose a suitable growth stage rather than disturbing a plant just to change the appearance of its pot. Remove old medium carefully, inspect the roots and trim only clearly dead or rotten portions with clean cutting tools. Use fresh suitable mix and keep the plant stable without compressing away the air spaces.
The AOS repotting guide explains how container and mix choices should fit your conditions. Do not enlarge every pot by an arbitrary amount. A plant that has lost roots may not need a bigger container.
8. What happens after the flowers fall?
The end of flowering is not the end of the orchid. New leaves, roots or shoots are worth watching too. Record when your plant grows and flowers, and compare that pattern with guidance for its group. Some flower spikes can branch again; others will not. Do not apply one pruning rule to every orchid.
A healthy-looking orchid that does not flower may need a review of light and seasonal conditions rather than a special “blooming remedy.” Kew’s grower advice emphasizes matching care to the plant’s growth cycle. Advice expressed in calendar months must also be adapted to your hemisphere and local conditions.
9. Deal with problems before they spread
Inspect new plants separately before adding them to a collection. Look under leaves, around old sheaths and near the roots for pests. Keep tools and the work surface clean between plants. If you find an unexplained spreading mark, isolate the plant and seek a reliable diagnosis rather than applying several homemade mixtures at once.
A photograph of a spot is not a dependable virus test. The AOS virus guide explains that symptoms overlap with other problems and some infected plants show no obvious signs. Contaminated hands and tools can spread infection between orchids. There is no proven home treatment that removes virus from an infected adult plant. Laboratory testing may be needed before deciding how to manage it.
For any pest-control product, use only one appropriate for the identified problem and permitted use, following its label and protective precautions. “Natural” is not a guarantee that a mixture is harmless to the plant or the person applying it. If uncertain, ask an agronomist or experienced local orchid society before treating the collection.
A useful routine is simple and consistent
Keep the label, inspect the plant, check moisture before watering and note important changes. Good orchid care is less about collecting recipes and more about understanding how this particular plant responds in your home. Healthy roots and steady growth give the next flowering a much better foundation than constant changes made in a hurry.
Usamos cookies em nosso site para fornecer a melhor experiência de uso, lembrando suas preferências e visitas repetidas. Ao clicar em “Aceitar”, concorda com a utilização de TODOS os cookies.
Este site usa cookies para melhorar sua experiência enquanto você navega pelo site. Destes cookies, os cookies que são categorizados como necessários são armazenados no seu navegador, pois são essenciais para o

funcionamento das funcionalidades básicas do site. Também usamos cookies de terceiros que nos ajudam a analisar e entender como você usa este site. Esses cookies serão armazenados em seu navegador apenas com

o seu consentimento. Você também tem a opção de bloquear esses cookies. Porém, a desativação de alguns desses cookies pode afetar sua experiência de navegação.
Os cookies necessários são absolutamente essenciais para o funcionamento adequado do site. Esta categoria inclui apenas cookies que garantem funcionalidades básicas e recursos de segurança do site. Esses cookies não armazenam nenhuma informação pessoal.
Quaisquer cookies que possam não ser particularmente necessários para o funcionamento do site e sejam usados especificamente para coletar dados pessoais do usuário por meio de análises, anúncios e outros conteúdos incorporados são denominados cookies não necessários. É obrigatório obter o consentimento do usuário antes de executar esses cookies no seu site.